Course:
Learn Java Programming
[post-views]
In this lesson, you will learn.
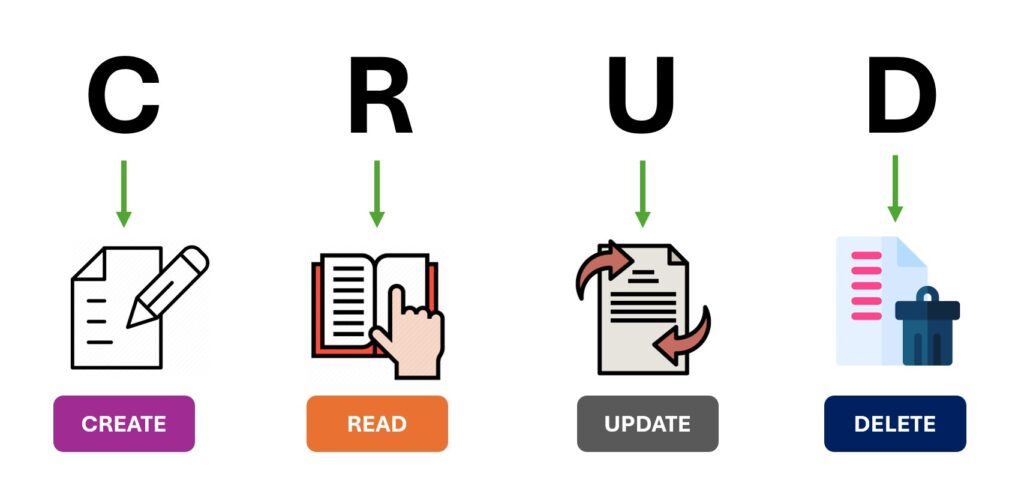
The abbreviation CRUD stands for create, read, update, and delete in computer programming.
The Statement interface in Java JDBC provides several methods for executing SQL queries and updating the database.
These methods can be broadly categorized into three types:
SELECT statements that query the database.ResultSet object containing the results of the query.
Statement statement = connection.createStatement();
String query = "SELECT * FROM employees";
ResultSet resultSet = statement.executeQuery(query);

while (resultSet.next()) {
    int id = resultSet.getInt("id");
    String name = resultSet.getString("name");
    System.out.println("ID: " + id + ", Name: " + name);
}
INSERT, UPDATE, DELETE, and DDL statements (e.g., CREATE TABLE, ALTER TABLE).int indicating the number of rows affected, or 0 for statements that return nothing.
Statement statement = connection.createStatement();
String update = "UPDATE employees SET salary = 50000 WHERE id = 1";
int rowsAffected = statement.executeUpdate(update);
System.out.println("Rows affected: " + rowsAffected);
boolean: true if the first result is a ResultSet object; false if it is an update count or there are no results.
Statement statement = connection.createStatement();
String sql = "SELECT * FROM employees";
boolean isResultSet = statement.execute(sql);

if (isResultSet) {
    ResultSet resultSet = statement.getResultSet();
    while (resultSet.next()) {
        int id = resultSet.getInt("id");
        String name = resultSet.getString("name");
        System.out.println("ID: " + id + ", Name: " + name);
    }
} else {
    int updateCount = statement.getUpdateCount();
    System.out.println("Update count: " + updateCount);
}
executeBatch method.
Statement statement = connection.createStatement();
statement.addBatch("INSERT INTO employees (name, salary)
VALUES ('John Doe', 50000)");
statement.addBatch("INSERT INTO employees (name, salary)
VALUES ('Jane Smith', 60000)");
int[] updateCounts = statement.executeBatch();

for (int count : updateCounts) {
    System.out.println("Rows affected: " + count);
}
Prerequisites:
Use MySQL to create a database schema named ‘jcodebookdb’ by using the following SQL command.
CREATE DATABASE jcodebookdb;
package createtable;

import java.sql.*;
public class CreateTable {
	static String url = "jdbc:mysql://localhost:3306/jcodebookdb";
	public static void main(String[] args) {
		try {
			Class.forName("com.mysql.cj.jdbc.Driver");
			Connection con=DriverManager.getConnection(url, "root","root");
			String sql="CREATE TABLE users(id INT AUTO_INCREMENT PRIMARY KEY,"
					+ "name VARCHAR(100),email VARCHAR(100),country VARCHAR(100),"
					+ "password VARCHAR(100));";
			Statement stmt = con.createStatement();
			int i=stmt.executeUpdate(sql);
			if(i==0) {
				System.out.println("Table created");
			}
			else {
				System.out.println("Table not created");
			}
		}
		catch(Exception e) {
			System.out.println(e);
		}
	}
}
Output
Table created
Open the MySQL database and check the table named ‘users’ is created.
There are no reviews yet. Be the first one to write one.
You must be logged in to submit a review.